Welcome Everyone!

Remember to "click" on all pictures if you'd like to see them a little closer.

Monday, November 25, 2013

Showcase Monday - Creating a Gift Box from packaging

Hi everyone!

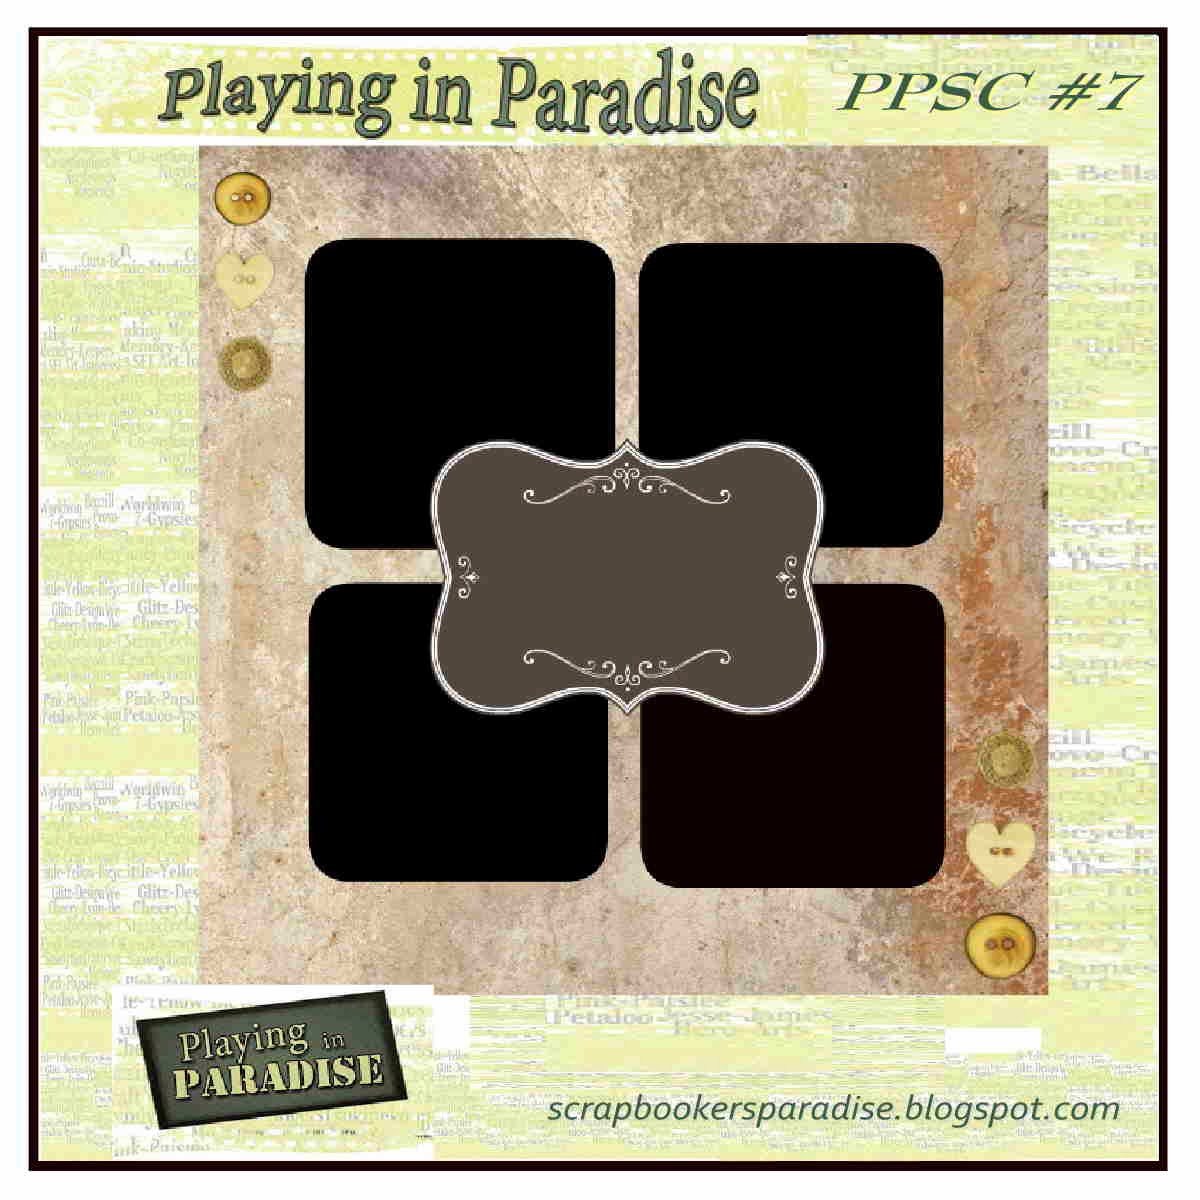
It's my turn to do Showcase Monday at Scrapbooker's Paradise.  Stop by and see how I created this gift box!

 
I'll even tell you where to find the tutorial to make these darling bows!  Hint ... Annette Green.  :)
 
And there's more ... there's a sale at Scrapbooker's Paradise today and tomorrow - don't miss out on it!
 
Start Your Christmas Shopping 
*Bonus 40% off one regular priced over $10.00
use the code 'BONUSCOUPON'
in the comment section of your order
valid November 25th & 26th, 2013

*Limited to regular priced, in stock items only. Not valid with any other offer.
Not valid on previously purchased merchandise.
*Coupon must be quoted at time of order.
One coupon per person for entire event,
valid on regular price merchandise only.
*Excludes all personal cutting systems
computer hardware and software, and all Copic Marker items,
Tim Holtz Distress Pen (assortment package), Allison Davis Sketch Books

*Free Shipping applies to Canadian orders over $75.00
See shipping and returns for details


Monday, November 18, 2013

Christmas Tag #1 at Scrapbooker's Paradise

Hi everyone! 

Today's post is purely for fun!  (But then, aren't they all!)  I played with ink today and ended up with a really pretty tag, thanks to Sandy Holmquist's tutorial here.

Sandy is creating 12 Christmas Tags over the next few weeks which you can try out, and then link YOUR tag up to let everyone see your beautiful creation.  It is SO much fun!

Here is my version of Sandy's 1st tag.  I loved how she popped the white against the green, and her idea of applying crackle accents to the delicate die cut to strengthen it is awesome.  I loved her colour combinations as well.

On my tag you will notice a little bird.  This was added because I am entering this tag in a challenge at Flying Unicorn.  This is a special month at FUL where they are giving back to charity.  They have all sorts of things on the go to help raise money for Best Friends Animal Society.  For every project that is uploaded to the gallery there, a $1 is donated to a maximum of $1,000, and if your project has some kind of animal on it, $2 is donated... thus the bird!  :)  I love animals and am so thankful that there are societies such as this that take such loving care of all the strays and abused animals that end up in their care.  A very worthwhile charity to donate to in my opinion!

 
Here is Sandy's awesome tag that I scrap-lifted.
 
 
Thank you for taking the time to drop by today!
 
Linda


Friday, November 15, 2013

Festive Friday November Blog Hop

Hi everyone!

Welcome to the 4th month of the Festive Friday Blog Hop! 

The path is circular and the starting point is at our wonderful coordinator, Diane Tuggle's, blog.  You should have arrived here from Carol Loftus' blog.  I will put a list of all the participants at the bottom of my post, in case you should get lost! 

In my September Festive Friday blog post, which you can see here, I mentioned that I had made 3 ornaments out of 2 sheets of Frosted paper, 1 sheet of Silver glitter paper, one package of Base and Bling Floral Accents, and using a container of Silver Glitz glitter gel.  I shared the 2nd ornament with you here.
 
Today, I'm going to share with you the 3rd ornament that I made.  This pretty little thing is the smallest of the three:  3-3/4" in diameter.  The bling in the center is a 3rd piece from the Base and Bling Floral Accents collection.  I went all out with the Silver Glitz glitter gel around the edges, and let me tell you, this just sparkles under the lights!

 
The inspiration and tutorial for this was found here
 
I used the tutorial's measurements, however, I went about gluing together the cones a little differently.  To begin with, I used Sookwang tape because I wanted the glued edge (which shows on the front of the ornament) to be nice and flat along the whole side.
 
 
Then, in order to keep the cones round and not flatten them as I was gluing, I rolled them around a pen before I pulled the Sookwang off.
 
 
After the Sookwang was removed, I used the end of a paintbrush to press the two sides against.   Again, this was just to keep from flattening the cone.
 
 
 A 2" scalloped circle was cut from Frosted patterned paper to glue the cones down on.  Then I sandwiched my "hanger" between a 2nd scalloped circle cut from Glitter paper.
 
 
I used Aleene's Tacky Glue as I was putting the cones on the circle, because it gave me a little leeway to adjust them and make sure they were looking the way they should, before it dried. 
 
So that's it for the ornaments!  Next month it will be on to something new.  I hope you'll be back to check it out.  Thanks for stopping by today.
 
Your next stop for inspiration will be
Jamie Barney's blog
 
Here is a list of all the Blog Hop participants if you should get lost.


Wednesday, November 13, 2013

Wild Wednesday at Scrapbooker's Paradise

Hi everyone! 

Welcome back to another Wild Wednesday at Scrapbooker's Paradise!

I had a GREAT time playing with Bo Bunny's Silver and Gold paper line, as well as some of my dies.  To see how this card came about, head over to Scrapbooker's Paradise.

 
For those of you who have been there already, and would like to see what I did with the leftover mat scrap, this ....
 

became this:


a quick, easy card that just needed a pretty stamped image and a bit of embellishment. 


After using up this scrap, I was really on a recycling role, and as I surveyed my table I spotted this:

 
Which, with the addition of some scraps of patterned paper, and embellishments, became this:


If you have a cricut, use the Cricut Craft Room to size a mat for your bag and save it for future gift bags.
 
I hope this post helps you as you head into the busy weeks of preparing for Christmas.
 
 Take care!
 
Linda
 
 
Supplies used:
Spellbinders Grand Decorative Ovals One from my stash.  There's a selection here that could be substituted.
Ribbon from stash
Prima Christmas Flowers and white roses from stash
Prima resin holly leaves (sponged with "Old Silver" Inka Gold)
Memory Box "Joy" Die from my stash
Burlap from my stash (found in the garden section of the hardware store)


Monday, November 11, 2013

We Remember

I just wanted to take a moment today and remember the sacrifices that have been made by our soldiers on our behalf.  We live in a wonderful country with so much freedom thanks to so many brave souls.


Friday, November 8, 2013

New Sketch Challenge at Playing in Paradise!

Hi everyone!

We have a new Sketch Challenge up for you at Playing in Paradise

Just a refresher, our challenges run for 3 weeks and then a new one is posted on the 2nd Friday of every month, so entries for this challenge will need to be in by November 29th.  Everyone is invited to play.  The only rules are to have fun and play fair!!

I got out my Copics and had some fun coloring for this challenge.  (Don't you find coloring is very relaxing?)


I used the beautiful Christmas collection "Christmas Collection" by Kaisercraft, and picked the colors of my Copics from that.  Colours used were: E7,9,17,18,21,43,44,47,49    YG93,95,97,99     YR24,27    R27,29.

The stamp set I used was "Home for the Holidays" by Flourishes.  Once I was done colouring, I die cut it with "Majestic Labels #2 Framelits" by Sizzix. 


For the inside, I used the same Framelits set and one of the sentiments from "Home for the Holidays".  (I love the sentiments to this set!)  All paper edges were inked with Vintage Photo Distress Ink.  The green pointsettia - strange but pretty LOL - came from the Christmas Collection sticker sheet, and  the poinsettia chipboard on the front are Pink Paislee "Snow Village".

I hope this has inspired you to start some Christmas cards!  We would love to see them entered over at Playing in Paradise.  Show us what YOUR favorites in stamps or paper, is this year!

Take care,
 
Linda


Supplies used:

Kaisercraft - Christmas Collection
Copic markers
Flourishes - Home for the Holidays stamp set
Sizzix Framelits Majestic Labels #2
Pink Paislee - Snow Village chipboard


Tuesday, November 5, 2013

Check out Technique Tuesday at Scrapbooker's Paradise!

Hi everyone!

Have those of you who are fellow Albertans, dug yourselves out from under  the snow yet???  For those who don't live here, we had a big snowstorm over the weekend that dumped tons of wet, slushy stuff everywhere.  Yikes.

Well the snow did give us a Christmassy feel, as it was very beautiful.  If you want MORE Christmas, head over to Scrapbooker's Paradise, and check out my blog post today.  I will be showing you how to make this beautiful Christmas ornament.  Very quick and easy project!

 
When I was done the ornament, I realized I had a lot of little scraps from the pieces I didn't use, so I also created this card.
 
I used pieces from the Sizzix Chandelier die cut outs to frame the reindeer, and a couple more for the leafy things.  The pointsettia was an extra one and I created the gold glitter snowflakes from Spellbinders 2013 Snowflake Pendant die set.  The "Joy" is a stamp from the same set as the reindeer "Sizzix Holiday Joy Framlits and Stamps".  The reindeer was cut out of cardstock and then painted with a Krylon Gold Leafing Pen.  And you know.... I still have enough scraps to do another one!

Hope you enjoy your day and be sure and stop by Scrapbooker's Paradise to find out how to make yourself a chandelier ornament!

Linda