Welcome Everyone!

Remember to "click" on all pictures if you'd like to see them a little closer.

Tuesday, July 23, 2013

It's Technique Tuesday at Scrapbooker's Paradise!

It's Technique Tuesday over at Scrapbooker's Paradise

 For the technique that I am featuring today, you will need to bust out some Distress Inks and masking tape!  

Come on over to the Scrapbooker's Paradise blog to see how I created the fun background for this card.


Friday, July 12, 2013

Playing in Paradise - A new Sketch Challenge this month!

Good morning everyone!  The sun is shining and my new little canary is peeping away in his cage (he's still learning to sing), and it's FRIDAY - so it is indeed a WONDERFUL morning!  Plus it is time for a new Sketch Challenge at Scrapbooker's Paradise - YAY!

Dawn is our host this month, and here is the wonderful layered sketch she has come up with for us.


Please note, you do not have to have a blog to enter this challenge.  If you don't have one, then put a comment under the challenge, and let us know that you are emailing your photo entry.  (Just please make sure it's a good quality photo.)  

Then go ahead and email it to 'Pam' at faeiryrocks@telus.net.  Put the name of the challenge under the "subject" of your email.  (This one is PPSC#3)  Attach your photo to the email, along with your first and last name, your email address or phone number so we can contact you, and finally, where you would be able to pick up the prize if you should be the lucky winner (YAY) - either the North or South Scrapbooker's Paradise store - or if you're from out of town - your mailing address.

So give the challenge a try!  Remember, the sketch is just a guide, you can interpret it however you like!

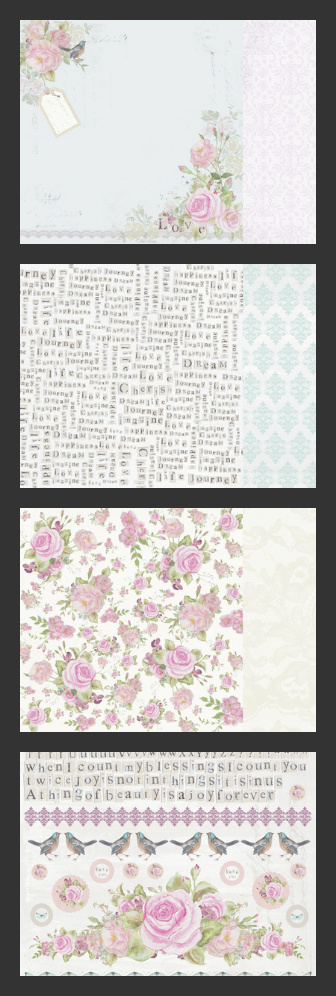
 Kaisercraft has come out with a beautiful new paper line called Miss Empire, and that is what I used to make this card. 


To start with, I wanted to put a piece in the back that had some texture, so I took one of the patterned papers and masked it using the "Cell Theory" template from Crafter's Workshop and Pearl modelling paste from Viva Decor. The paste was a little too white for this project, so after it dried, I spritzed it with some Walnut Ink from Tsukineko.  To get a little bit more texture on the project, I also embossed the dark piece of patterned paper with the "Woodgrain" embossing folder by Sizzix


The cute little bird cage, which is the focal point of my card, was also a little too white so after some experimenting with different mists, etc, I chose to go with Viva Decor "Copper" Inka Gold.  I put a tiny amount on my craft sheet, spritzed it with water, and painted it on the die cut.  It gives it a lovely translucent sheen that doesn't really show up in the photo.


I finished the inside with left-over scraps of paper and a stamp from Fiskars "Friends Forever" set.


Be sure to stop by Playing in Paradise today and check out Dawn's post.  She has made a BEAUTIFUL card and you will be "WOWED" by the rest of the design team's creations also!

Have a wonderful weekend and thanks for stopping by!
Linda


Supplies used:
Vintage Photo Distress Ink (distressed and inked all the edges)


Wednesday, July 10, 2013

Wild Wednesday at Scrapbooker's Paradise!

Good morning!  

What can be wilder on a bright, sunny, summer day than Christmas in July!!!

With that theme in mind, I decided to haul out my favorite paper line by Graphic 45 "Place in Time", and make a Triple Easel Card using the December page.


You will find a wonderful tutorial here that tells you how to make these cards.  I used a piece of the patterned paper to make the base of this card, and if I was doing it again, I would use card stock instead.  This card is supposed to stand up on its own, but mine is a little flimsy and wobbles a lot.  Sturdy cardstock would solve that problem I think.

Other than that, this was a quick, easy card to make and I dug into my stash to use up old bling.  (This way I'll be able to purchase new stuff when it hits the shelves, without a guilty conscience!!)


Supplies used:
Spellbinders Scalloped Circles
Red flowers from my stash
K&Company chipboard from my stash

I'm kind of happy that I've got an early start on my cards, as there's always SO much to do in December!  It's my plan to keep going now and do one a week.  Come December, I'll REALLY be smiling!!

I hope you all have a great day today!

Linda

Monday, July 1, 2013

Showcase Monday at Scrapbooker's Paradise

Happy Canada Day! and welcome back to Showcase Monday!!

I needed a wedding card this week and what better paper collection to go to than "True Romance" by Kaisercraft!!  New in the store this week, it is absolutely beautiful!

I chose to do a lot of fussy cutting with this paper, as it has so many lovely elements in it.  These were the papers I used, in addition to the sticker sheet, which comes as an extra bonus when you purchase the complete paper pack.  From top to bottom:  LovestruckFirst Sight, and Adore - the bottom one is the sticker sheet. 


I started by cutting out the images I liked and inking all their edges with Old Paper Distress Ink.  I also cut out some die cuts and inked them as well.  I used Spellbinders Labels 10 for the title piece, Spellbinders Resplendent Rectangles and Spellbinders Fancy Lattice for the other pieces.

*tip:  When using these intricate dies, lay the die on top of a piece of wax paper and then put on top of cardstock.  The die cut piece will then pop out very easily.


Here is a close up of the title.  I didn't like how "I Do" looked when I laid it out on the card, so I die cut some of the words from "First Sight" and used them instead.  I popped it up with pop dots to give it some depth.


I love the little bird in this collection!  This photo shows you how I stacked up the different pieces of the roses that I fussy cut.  The large rose is also sitting higher with pop dots.  Then I die cut a doily (Cheery Lynn  Tiny Italian Flourish Doily die) and tucked pieces of it here and there, and added some lace and bling which I'll list below.


When it came to the inside, I used more of the dies from the Resplendent Rectangles set and stamped the image with a Fiskars sentiment from my stash.  All the pieces were then inked with Old Paper Distress Ink.  The little butterfly is from the sticker sheet.


Since I had a gift card to go with this card, I also made a little envelope to tuck it into, that fits neatly inside the card.  I used one of my Martha Stewart punches "Cherish" on the edges, and made a belly band from lace and a couple of stickers, to hold the envelope closed.


The card was 4"x6" and the gift card holder was about 3-1/2"x5".

Supplies used:

Spellbinders Resplendent Rectangles (Romantic Rectangles is also lovely)
Fiskars "Just Married Quotes"
Martha Stewart "Cherish" Punch Around the Page
Martha Stewart Lace Butterfly 
Offray Ribbon Flowers

I hope wherever you're celebrating on this holiday Monday, you're surrounded by good companions and plenty of sunshine!

Linda