Welcome Everyone!

Remember to "click" on all pictures if you'd like to see them a little closer.

Friday, March 29, 2013

PPC110 Playing in Paradise

Good morning!  We have blue skies, warm sun, and a brand new challenge at Playing in Paradise!

                                         PPC #110

Nina is hosting the challenge this week and she reminds us how much an embellishment can add to your card or layout.  Some people like to embellish a little, some people like to embellish a lot.  I fall into the latter category ... I like to add tons of embellishments.  So because this is a challenge .... I challenged myself to only embellish "a little"!  LOL it was SO HARD.  I kept thinking, "oh that corner just needs a little something", or "if I put a touch of this here it would look so much better."  I had to keep slapping my hands away from the embellies!

In the end, I let my stamped image take all the glory and just added some crinkled ribbon and distressing.  Oh yeah, and a "wee" touch of lace.


I used a stamp by La Blanche called Blossoming Rose and coloured the image with a water brush and Distress Inks: Tattered Rose, Festive Berries, Mowed Lawn and Shabby Shutters.  To shade around the flowers I used Shabby Shutters and Iced Spruce, then I edged them with Walnut ink.  I love the La Blanche stamps and when I use them I always use their specialty paper (which just happens to be on sale right now).  This paper has a beautiful coating on it; the ink just glides and blends perfectly, and you're left with a lovely lustre.


To further enhance the stamped image, I did an "enamel technique" on it.  I went over each flower with an embossing pen and then sprinkled and melted a layer of UTEE on top.  This next photo shows you the incredible gloss you get.  It's very rich looking and pretty.  If you don't have an embossing pen or UTEE, I think a similar effect could be achieved with Glossy Accents.


I stayed "simple" on the inside as well.


Now I KNOW you all have lots of embellishments in your craft rooms, so bring them out, and put them to work!  Show us whether you like to embellish "A Little" or "A Lot"!  The rules can be found here, and I promise you they are very simple.

After you're done checking out the rules, take a peek at the rest of the design team's creations - they are absolutely wonderful!

The prize to be won this week is:  The Sweetest Thing stickers, brads, enamel dots, doilies and layered stickers.  This awesome package is worth $25 and you get a chance to win it just by linking your project to the challenge!

Enjoy your crafting!
Linda

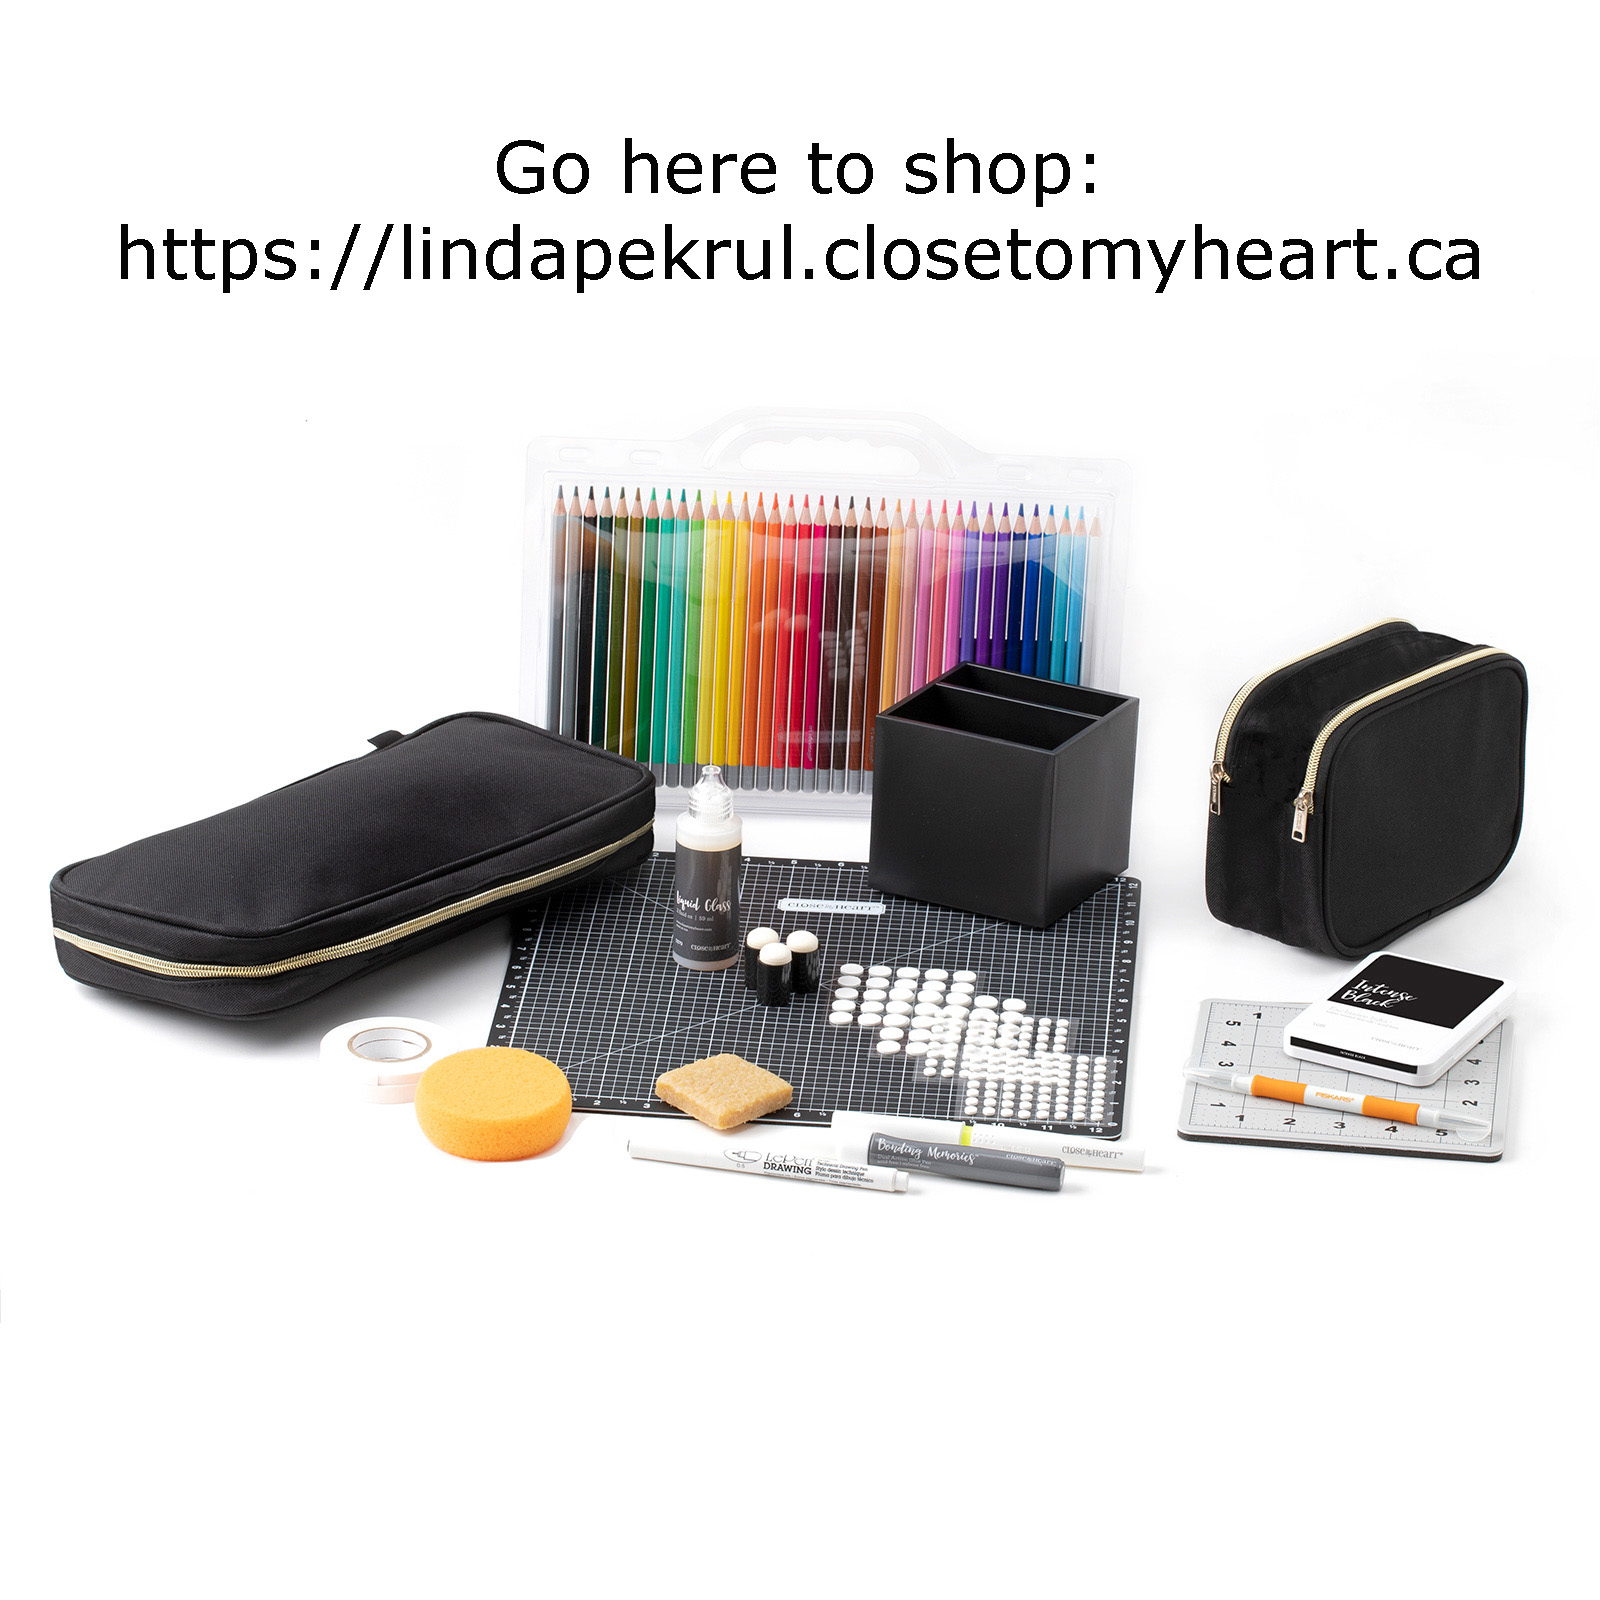
Click on the images below, to see where you can purchase the supplies that were used to make this card:


Friday, March 22, 2013

PPC109 Playing In Paradise Challenge

Good Morning and a Happy Spring Day to you all!
We've just had another snow storm here in Alberta,
but hopefully a Chinook will roll in and melt all our troubles away soon!!


I'm so happy to be the hostess this week at Playing in Paradise!  I'm challenging you to use banners on your projects because I think banners are a lot of fun.  Show me what you can do!

Warning:  There are a lot of photos and details in this post!! 
You better get a BIG cup of coffee!

 If you would like to see a bigger image, just click on any of the photos. 


Ok …. Confession time …. I was going to use this layout of my dog, Harley, for my challenge (isn't he a handsome fellow??). I had made it a few weeks ago and loved how the banners accented the circle frame.  It was a pretty simple layout to do.  

I used one piece of background paper (check out the awesome Kaisercraft ones that are in the store now), painted over a mask with gesso, and then added a chipboard frame, banners, and embellishments.  (By the way, if you love feathers as much as I do, check out these ones that are in the store now.  Yummy!  I picked up a few and have them stashed away.)  :)  


However, you know what it’s like when you get some new patterned paper... you get all excited and want to do something with it!!  So I made another layout and used banners in a different way!  It's a "2 for 1" week here on my blog.  LOL

I just LOVE this Marigold line by Kaisercraft and when I saw it had banners in the sticker pack, I just HAD to do a layout using it. The more I played with this paper, the more I loved it.  It has some fabulous quotes and titles and I’ve decided it would make a wonderful Graduation mini for some lucky young woman!  (That just might be my next project!) 

The two cuties in the layout are my grandchildren (of course).  They are such good little buddies; Austin would follow his big sister anywhere.  When they're at my house they always cuddle together in this chair and Emily reads stories to Austin, it's SO cute.  It's one of those "little moments" that I want to preserve forever!


I thought I would give you a bit of a "Build a Page" tutorial on how I made this.  Here's a couple of pictures of the KaiserCraft "Marigold" supplies I used.  If you've never seen what comes in a KaiserCraft "Collectibles" embellishment pack, that is what you see on the left hand side.  Oodles and oodles of beautiful pieces to work with and layer.  The store is out of the Marigold "Collectibles", but there are still "Bundle of Joy" Boy and Girl packages, as well as "In the Attic" if you are working with any of those papers.


Here is the sticker sheet that coordinates with the collection.


Now by the time I was done piling on embellies, you can only glimpse my banner LOL, but I like the effect of it peeking out from under the flowers.  

To make it, I wanted the stickers to be a little sturdier in order to distress them, so I attached them to some cardstock.  This photo shows them distressed and scrunched to give more texture and depth to the layout.  I have also started the process of laying the embellies out and figuring out how I want them placed on the layout.


I used 1/4" Scor-Pal tape to attach them to my patterned paper.  It made it easy to line them up and keep them straight.


Here's a close-up of the floral banner I ended up with.  It's hard to tell by the picture, but it has a lot of different heights in it, as I wanted to be able to tucks bits and pieces in.  I used foam squares to achieve the first level of height.


And then I glued some cardboard scraps on, to get the 2nd layer of height.  When I was done, I tucked in miniature flowers from my stash, bits of yarn, and little brown flourishes that were made with a Spellbinder die similar to this one.  I embellished the flourishes with a Copper pearl pen (so easy to use). 


I didn't have any flowers in my stash that I liked, for the top of the layout, so I made this one using my Tattered Florals die.


After moistening and scrunching the flower pieces, I dried them and then brushed them with some Bronze Glimmer Mist mixed with Walnut distress ink.  The leaves came from the sticker sheet, and again, I glued them to cardstock, cut out, and distressed them.  I felt the button was too shiny, so I painted it with Gesso, and then brushed it with the Glimmer mist mixture also.  I wanted to use my Cheery Lynn Italian Flourish Doily die as a mat for the flower, however it was too big, so I cut it down a bit as you can see in the final picture.  If you're a crocheter, as I am, you will have lots of bits and pieces of yarn laying around.  This is the blue, fluffy pieces you can see tucked in around the flowers at the top and bottom of the layout.


That doily die is so beautiful, I just had to show you what it looks like.  I used wax paper when I was cutting it, to make sure all those intricate little pieces came out easily, and look at the beautiful wax paper one I got as well!  Bonus .... I'll be saving that for another layout!


And THEN, look what happened when I started playing around with it, and cutting it up.  You also get gorgeous hearts!!!  I love it when a die is so versatile.


In this photo below, you can see where I was playing around with the bottom embellishments, trying to figure out how to place the flowers.  I don't know about you .... but this takes me a LONG time!  LOL  

You can also see some stitching that I added, to give the page some more texture at the top and bottom.  The upper right hand stitching pattern was lifted from a page Shona Keehn, a wonderfully talented artist from British Columbia, had done.  I LOVE her style of scrapping!


 So there you have it.  Here's the final result one last time.  If you look closely at the little border strip on top of the photos, I added extra little "pearls" with the pearl pen I mentioned above.  The border strips, by the way, are the cut off pieces from the patterned paper that have the UPC code on them.  KaiserCraft doesn't waste any paper!


Soooo, if you've made it to the bottom of this post, I would really like to encourage you to check out the challenge at Playing in Paradise, and enter one of your pieces of work.  The design team has come up with some wonderful projects to give you more inspiration and there is a fabulous prize to be won as always!

The rules are very simple and can be found there also.

See you there!
Linda

Supplies used: